Grade: Kindergarten
Time Needed: 3 25 minutes periods over 3 days
Objective: Students will take pride in their own family culture and appreciate other family cultures. This will be demonstrated by a diorama that the students created using fine motor skills.
Social Studies Standards:
Standard 1(Culture): Students will recognize and describe how individuals and families are both similar and different.
Objective 1: Identify how individuals are similar and different. Button to show lessons.
Indicator A. Describe and compare characteristics of self and others (e.g., differences in gender, height, language, beliefs, and color of skin, eyes, hair).
Indicator B. Explain how people change over time
Kindergarten Visual Arts
Standard 1: Students will develop a sense of self.
Objective 2: Develop skills in gross and fine motor movement.
Indicator C: Perform a variety of fine motor skills (e.g., draw, cut, paste, mold, write).
National Art Standard
Procedure:
Materials Needed:
White Construction paper
Colored construction paper
stickers
glue
Mirrors
shoe box or other small box
crayons
Procedure:
Ask students the questions: Who are you? What do you like to do? What do you look like? Make list on board.
Boys and girls, this is how you correctly hold a pencil or a crayon:
Watch this video to help you teach them. http://www.youtube.com/watch?v=lM_dia8QGr
First write your name at the top of your paper. Teach students how to draw the basic body outline. Give every two students a mirror and have them look in the mirror to decide on the shapes and colors of their body. What shape is a head? a circle. It looks like this. Check your neighbor make sure your shapes both look like the circle on the board. Let’s draw it together. What shape is a nose? it kind of looks like a triangle. This is how you draw a triangle. Let’s draw it together. What color is your hair? Is your hair curly or straight? This is how we would draw curly hair, this is how we would draw straight hair. What color are your eyes. Could someone come show me on the board how you think we could draw an eye? What color is your skin?
Now that we have what our body looks like, let’s draw pictures of things you like to do. What shape is a soccer ball? A circle. Slide? Looks like a curvy rectangle. Teach students how to draw the other basic shapes they come up with.
Have students share pictures of themselves with their table.
Tonight Boys and Girls, I want you to go home and give your parents this letter and ask your parents/guardian/whoever is at home these questions.
Example Letter:
Dear Parent/Guardian,
In school we are learning about who we are, where we come from, and about families. Today in school, your child drew a self portrait with what they looked like and what they liked to do. Tomorrow, we would like to do the same for you. Please answer the questions below with your child. Please use simple pictures or words to describe the answers so that your child will remember the next day. Your child will also be asking these questions to a grandparent.
Thank you!
NAME:
Are you a boy or a girl?
What color eyes do you have?
What do you like to do?
What is important to you?
Where do you work?
What color hair do you have?
What color skin do you have?
What language do you speak?
How tall are you?
What did you like to do when you were my age?
(Next Day)
Okay boys and girls, now I want to go around and have each person tell me something about their family at home. (Go around the room)
Do we all have the same family? No, we all come from different families and the number of people in our families is different to and that is okay. We are all different.
Who remembers what we did yesterday? Review drawing techniques.
Boys and girls, now I want you to do the same thing that we did yesterday about you, but I want you do it for your parents/guardian/etc.
Walk around the room and help out students who need help thinking of ideas or reading their papers.
Once students have finished, bring them up to the front carpet. What did you learn about your parents? Do you think your parents were always the same? What do you think they might have been like when they were your age? Do you look like your parents? Do you like to do some of the same things your parents like to do? Do you think that you are at all like your grandparents?
Boys and girls, come to the carpet. I am going to read you a story about a little boy who was writing a letter to his grandma and she had kind of a hard time. While I a am reading, I want you to think in your mind how you can ask your grandparents some questions
Read Dear Juno. Write list on boards of ideas students come up with of how to ask grandparents questions. Ex: skype or video cam, over the phone, through the mail etc.
Boys and girls, now I want you to ask your grandparents the questions that I had you ask your parents, but I want you to think of two more questions about them that you want to know. Have your parents help you and bring your answers to class next week.
Next day
Repeat above procedure except assess student's fine motor skills in drawing the pictures and holding the crayon. Use the following checklist:
Use your thumb and pointer finger
Middle finger underneath
No red knuckles or fingers
Okay boys and girls now that you have finished drawing all of your pictures, we are going to cut them out. But first, you need to add a tab to each of your pictures so that it will be able to stand up.
Looks like this:
Once students have done this teach them how to use sissors: This is how you use sissors. Teach students by teaching the whole class first. Then going around to individual tables and demonstrating there. Use this video as a guide: http://video.about.com/babyparenting/Using-Scissors.htm
Have students cut out some practice shapes first:
As students are working, have them individually assess their ability to use scissors. Using the following observe and assess your students:
Where are their fingers?
Were they able to cut out around the lines?
Did they use the scissors to just cut the paper?
Cut out three of the above shapes again?
Teach about Background, Middleground, and Foreground
Choose three students from the class and have them stand one behind the other from tallest to shortest. The farther apart they can stand, the better. Point out that the student standing in the back is the background (ex. a mountain, a faraway tree). The student in the middle is the middle ground, and the child standing in the front is the foreground. Point to each child in the row and have the class answer together "Background, foreground, or middle ground." Then discuss what elements of our landscape would be in the background, foreground, or middle ground. -http://voices.yahoo.com/kids-art-teaching-elements-landscape-222150...
Creating the Diorama:
Step 1: Get a Shoebox or another box you can use as a base. The box can be big or little
Step 2: Create the background. Who remembers what the background means? It means in the back. Boys and girls where do you think the background goes? Point to the back of the shoebox. We are going to go the farthest back in our family. Who in your family is the oldest that we talked to? Your grandparents!
In the back of the diorama you can add colored paper and then put in the pictures you drew of your grandparents and put what they like to do using pictures or stickers.
Step 3: Create the middle ground. Who remembers what middleground means? It means in the middle. Boys and girls what do you think we are going to put in the middle? Your parents.
In the middle of the diorama, add your parents and what they liked to do using hand drawn pictures or stickers. You can either hang the pictures from the top of the shoebox or glue them to the bottom.
Step 4: Created the foreground. Who remembers what the foreground is? It means in the front. Boys and girls what do you think we are going to put in the foreground? Pictures of you!
Have the students glue down pictures of themselves and what they like to do using hand drawn pictures or stickers.
Step 5: Have the students glue the cut out of their name and put it either hanging from the diorama or standing up at the top.
Step 6: Put any finishing touches to make the diorama about you and where you came from.
Step 7: Display and Discuss: Have students walk around the room and look at other dioramas. Then continue below:
Assessment
Have students get into groups of 4 and talk about what they learned about themselves, their parents, and their grandparents. How did your grandparents and parents change over time? Do you think they always looked like and were the same as they are today? Have them also talk about what they learned about foreground, middleground, and background. They can use their dioramas to help.
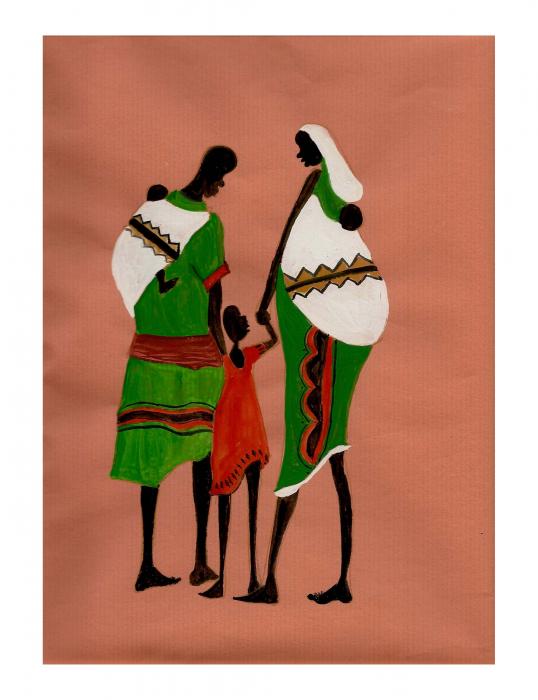
Conclusion/Show Powerpoint We would then go into the power point about the multicultural and queer art theories that we showed in class. This would solidify to students how we all come from different places so we all see different things using the powerpoint and our dioramas as examples.
Norman Rockwell-America

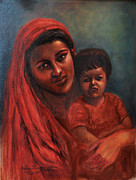
Asha Sudhaker Shenoy- India


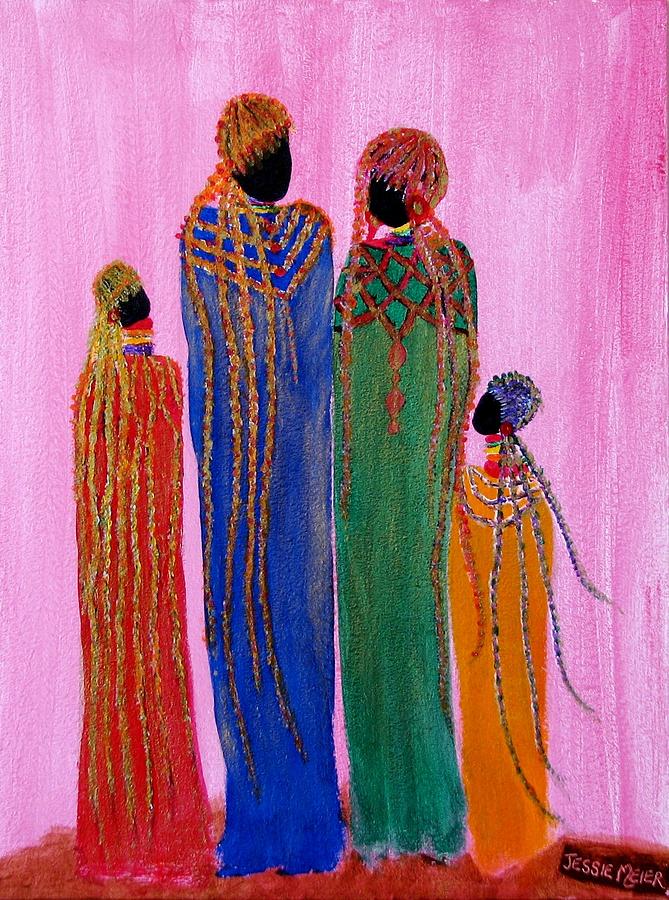
Jessie Meier- South Africa

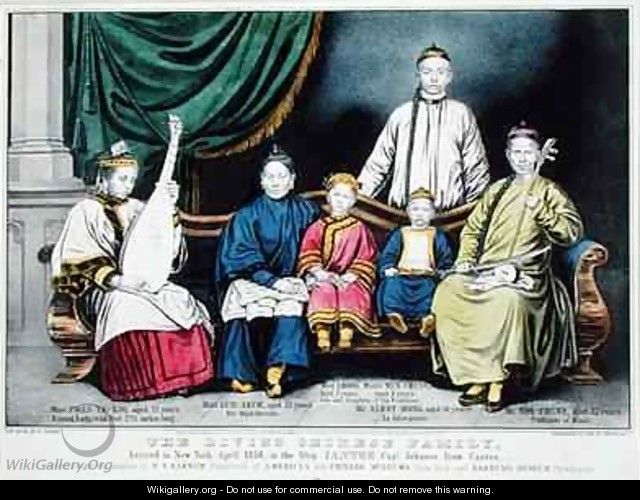
China:

Carmen Lomas Graza- Mexico

No comments:
Post a Comment